Start with a role in the story
Describe your character in one sentence that includes an animal, a personal trait, and a small tension. For example: “Nori is a curious gray cat who wants to explore the garden but dislikes getting wet.” The tension gives you scenes to write.
Choose two or three traits you can show through actions. “Patient” might mean waiting beside a shy friend. “Impatient” might mean opening the picnic basket too soon. Give the character one desire and one obstacle, then keep this story information separate from the visual description. You can change the plot without accidentally changing the character’s appearance.
Choose a few recognizable visual anchors
Pick three details readers should recognize in a small image: a compact body, a white chest patch, and a bent ear, for example. For a dog, ear shape and muzzle length may matter more than an elaborate pattern. Breed can provide an anatomical starting point; proportions and markings make the character specific.
Write the anchors precisely: “white patch on the chest” is more useful than “some white fur.” Check left and right from the character’s perspective when describing asymmetric markings. Avoid stacking many tiny accessories onto the first design; they become harder to read and harder to track in later scenes.
Separate the character from the art direction
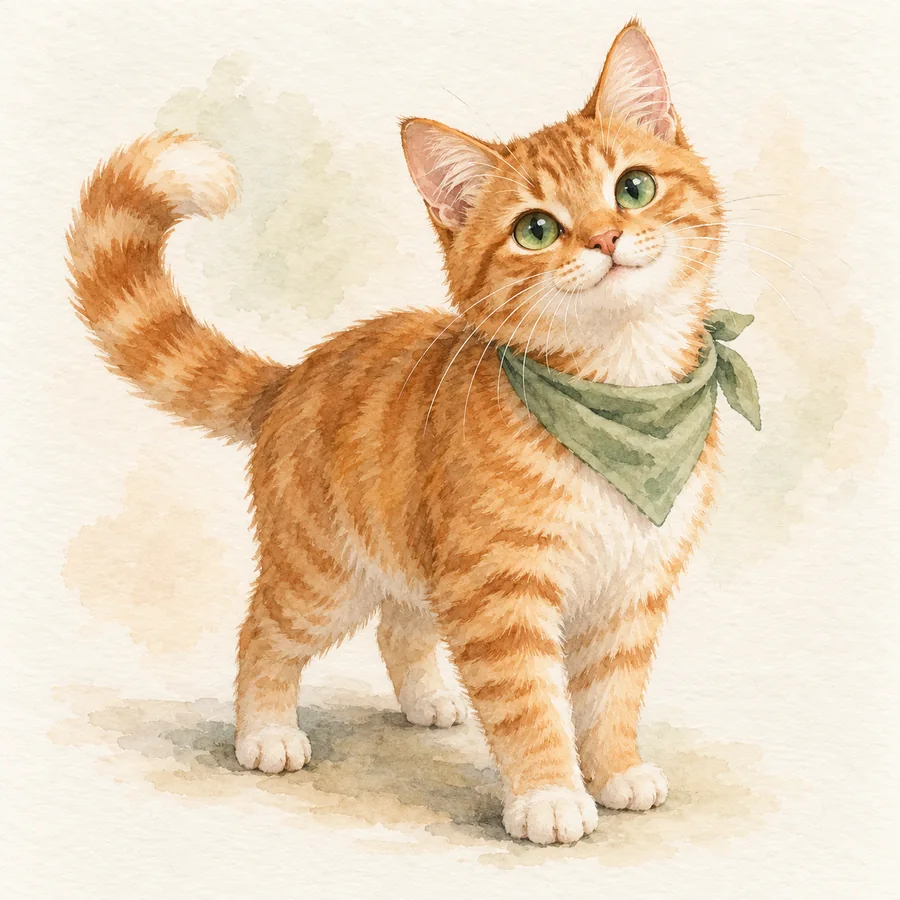
Make two short lists. The identity list records species, body shape, colors, markings, and any essential accessory. The art direction list records the medium, palette, surface, and mood: for example, loose watercolor, muted greens, textured paper, and gentle morning light. Keeping the lists separate lets you try another style while preserving the important character details.
Choose the style by the story’s needs. Soft washes can support a quiet garden tale; bold ink can make a quick comic easy to read. Begin with one direction instead of combining every medium you like. Compare variations using the same pose and framing so you can judge the style rather than a change in composition.
Test a neutral pose and a story pose
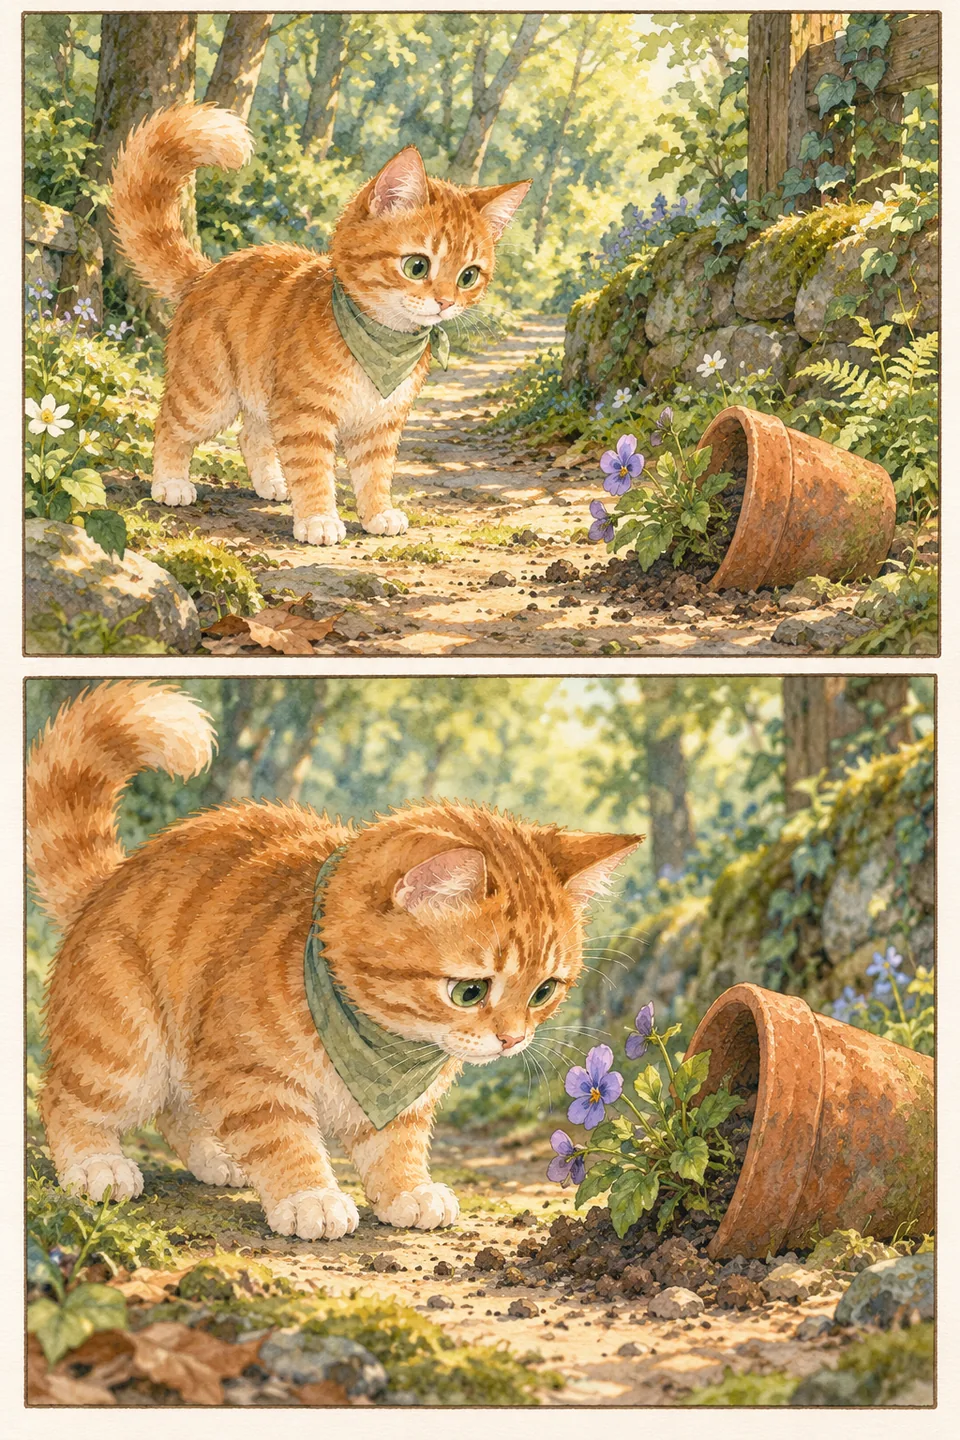
Make a simple full-body reference with an uncluttered background. Check the face, feet, tail, and main markings. Then test a pose the story needs, such as crouching under a bench. A character that looks clear while standing may lose distinctive features when it moves.
Keep notes about what worked and what changed. If you use generated images, treat them as drafts to review. Correct an unclear brief before requesting more variations. Save the approved reference with its visual description so your next scene starts from a concrete decision.
Save a brief you can reuse
Your finished brief should contain a name, story role, personality, visual anchors, art direction, and one approved reference. Add a short “keep” note for essential traits and a “may change” note for pose, expression, and scene lighting. This prevents a temporary expression or background color from becoming part of the character’s identity.
EnSketch’s developing workflow brings character details, body, style, coat, paper, pose, and accessories into a connected recipe, with a gallery and saved presets. Use that structure to record deliberate choices. Start the story when the brief can guide another page; you do not need every possible pose first.
Prelaunch preview. Public downloads are not available yet.
Explore the studio